I am not making any promises, but I am feeling re-inspired to share....so maybe I'll be back without letting a year or so slip by. Next stop - the long forgotten Facebook page :)
Thanks for stopping by! This is my corner of the blogosphere where I'm keeping track of
styles/techniques/products, lessons learned, my to-do list, and favourite links.
Feel free to offer any comments, feedback, or advice - I'm learning as I go !
styles/techniques/products, lessons learned, my to-do list, and favourite links.
Feel free to offer any comments, feedback, or advice - I'm learning as I go !
Showing posts with label cornrows. Show all posts
Tuesday, April 8, 2014
Update!!
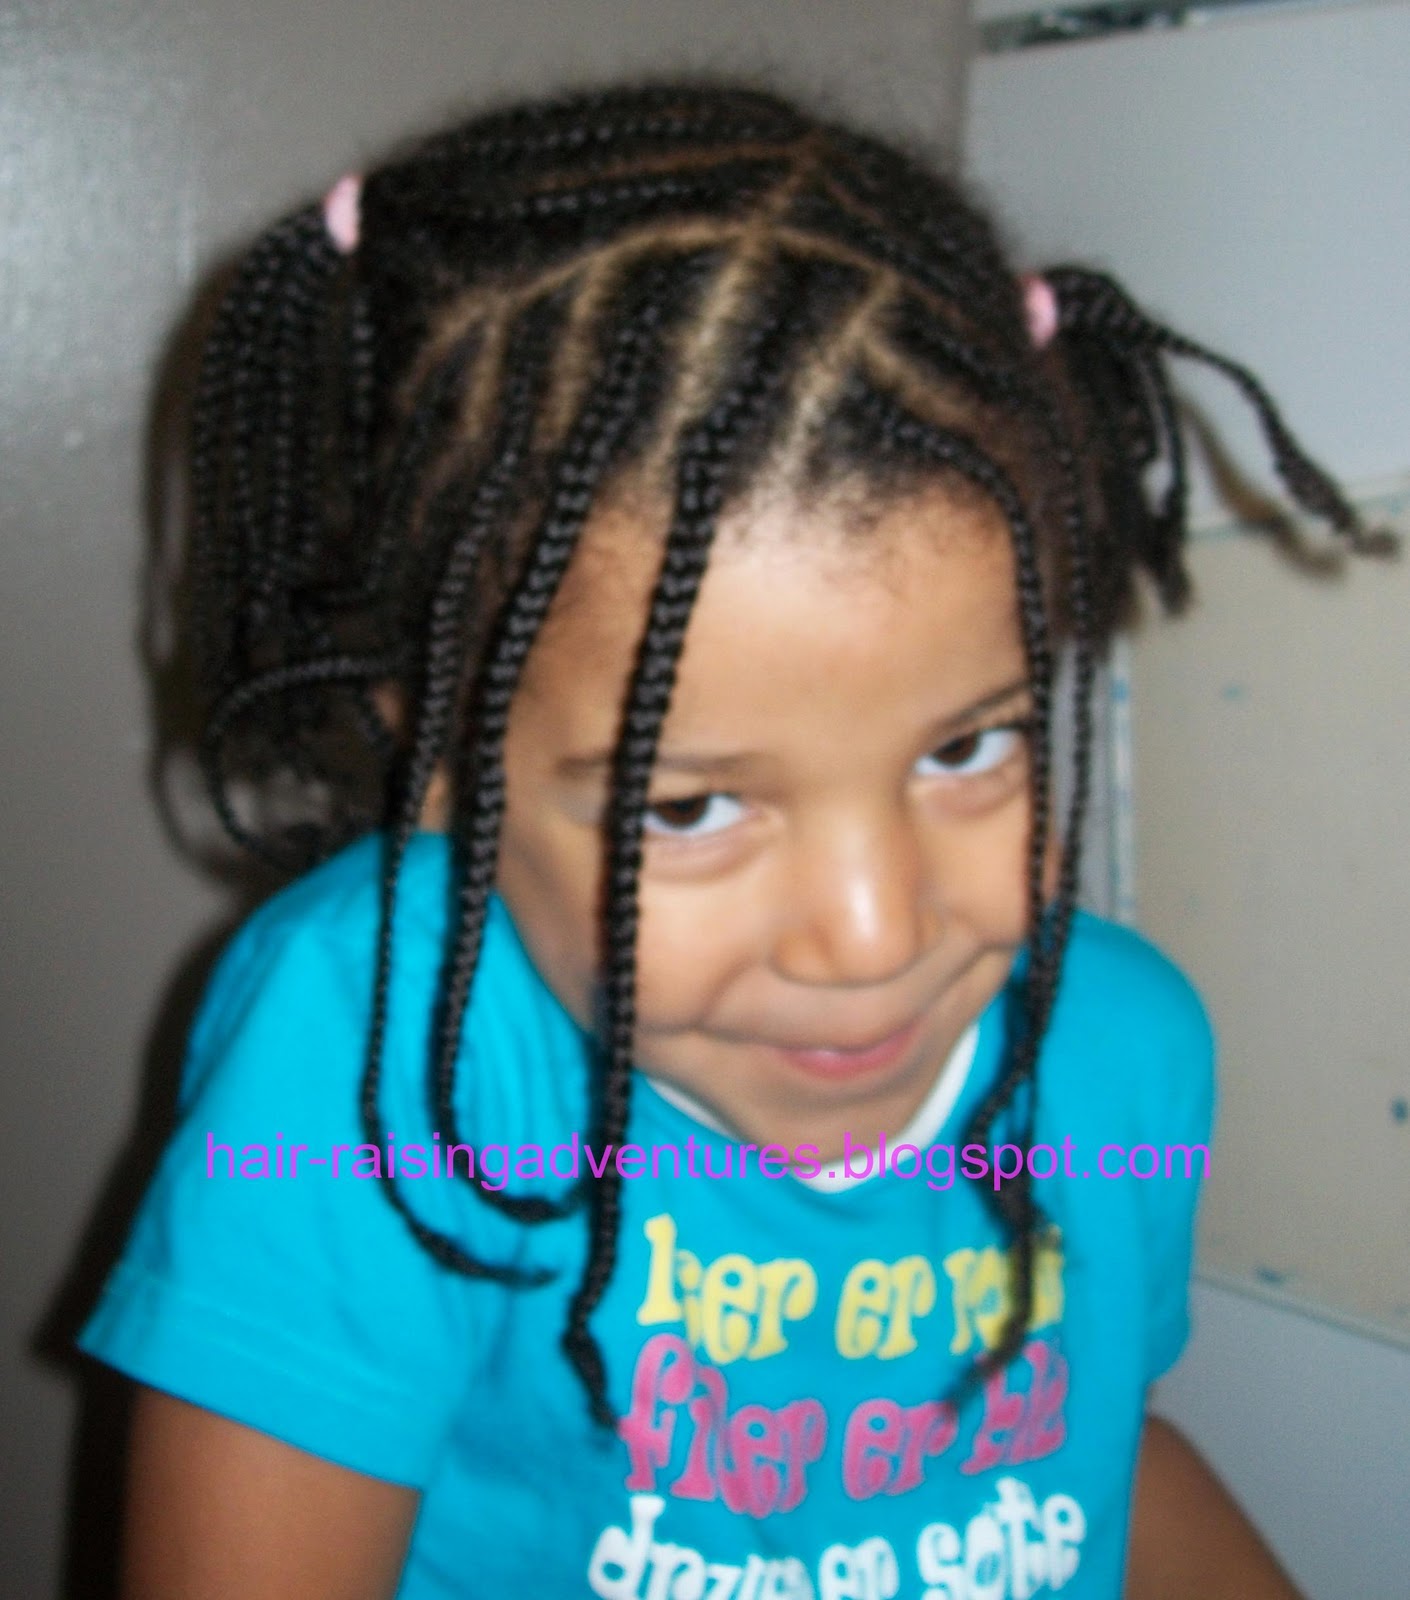
Well, since getting a little press at Today.Com my long-forgotten blog has been coaxed into a (quick) update. Where did we leave off? Oh yes, it was fall 2012. What can I say? Life has been very busy. JJ continues to love having her hair in protective styles that we leave in for 2-4 weeks. Lately she has been asking for cornrows, and I have been getting braver/more creative with designs/patterns. Here is her current style:
Monday, July 2, 2012
Happy Canada Day!
Quickest post ever - just to say Happy Canada Day!
JJ started with a 2-week old (and oops! not blogged-about) style with cornrows up and to the side on each side, and box braids in the middle.
The ((fuzzy)) side braids were pulled into flat two-strand twists, and the ((fuzzy)) middle box braids were pulled into piggy-back ponytails with red and white Pony-O's.
Now we are getting ready for the Baby Big Hair Frotective Challenge so JJ's Canada Day Hair is on it's way out!
We are so looking forward to 4 days of BIG hair.....!
| Canada Day Hair!! |
The ((fuzzy)) side braids were pulled into flat two-strand twists, and the ((fuzzy)) middle box braids were pulled into piggy-back ponytails with red and white Pony-O's.
| Chasing the Canada Day Cake at the parade! |
We are so looking forward to 4 days of BIG hair.....!
Sunday, April 15, 2012
April Carnival - Copy Cat Style!
We are super excited to be a part of this month's Hair Carnival, coordinated by the very talented Untrained Hair Mom.
This month, it's all about the copy cat styles, but with a twist (well, many twists in our case)! We have been sworn to secrecy as to whose style we would be copying, so this weekend is the great reveal!
The blog I had the pleasure of copying is Baby Bella Hair. I remember "meeting" blog author Tracey waaaaaay back during the Beads Braids & Beyond one month protective styling challenge in the spring of 2011, and I have been following her blog ever since. Her daughters Kae and Lea are just too cute! They are also close to JJ's age, and have hair textures similar to JJ's, so this was an easy match!
JJ and I looked through the Baby Bella Hair styles and narrowed it down to 2 styles for this post.
The first style was the one that Lea wore after her 26 days of mini-braids. You can see the original style here at Baby Bella Hair, and here is a photo from the original post:
Look at those shiny twists! As soon as JJ saw this photo she HAD to have this style! We started with clean, detangled, hair.
I'm sure I have mentioned that I love twists, and so does JJ. What amazing, versatile hair she has that it can go from fluffy, cotton candy hair in the left side of the photo (which I also love!) to the twists on the right:
This style was a hit (despite her funny face in the first photo - concentrate on the hair, not her annoyed look)! The first day we put clips at the ends of the twists - both for decoration, and to help the ends look a little more tidy. Because I usually used 1 clip per 2 twists, the twists kind of twisted together, for twisty twists, as you can see below:
The next day the clips came out, and the twists untwisted, for basic, still very cute, slightly kinky twists:
But WAIT - that's not all - JJ chose another style, this one was a mommy style that Tracey did on her own hair!
JJ loved the cornrows up and to the side, and here is our take on the style:
This month, it's all about the copy cat styles, but with a twist (well, many twists in our case)! We have been sworn to secrecy as to whose style we would be copying, so this weekend is the great reveal!
The blog I had the pleasure of copying is Baby Bella Hair. I remember "meeting" blog author Tracey waaaaaay back during the Beads Braids & Beyond one month protective styling challenge in the spring of 2011, and I have been following her blog ever since. Her daughters Kae and Lea are just too cute! They are also close to JJ's age, and have hair textures similar to JJ's, so this was an easy match!
JJ and I looked through the Baby Bella Hair styles and narrowed it down to 2 styles for this post.
The first style was the one that Lea wore after her 26 days of mini-braids. You can see the original style here at Baby Bella Hair, and here is a photo from the original post:
Look at those shiny twists! As soon as JJ saw this photo she HAD to have this style! We started with clean, detangled, hair.
I'm sure I have mentioned that I love twists, and so does JJ. What amazing, versatile hair she has that it can go from fluffy, cotton candy hair in the left side of the photo (which I also love!) to the twists on the right:
This style was a hit (despite her funny face in the first photo - concentrate on the hair, not her annoyed look)! The first day we put clips at the ends of the twists - both for decoration, and to help the ends look a little more tidy. Because I usually used 1 clip per 2 twists, the twists kind of twisted together, for twisty twists, as you can see below:
The next day the clips came out, and the twists untwisted, for basic, still very cute, slightly kinky twists:
Later in the week, JJ added her own extra accessory, and insisted I include this photo - she was very proud of herself!
Thanks, Baby Bella Hair - we loved this style!
But WAIT - that's not all - JJ chose another style, this one was a mommy style that Tracey did on her own hair!
![]() |
| SOURCE: http://www.babybellahair.com/2011/06/mommy-monday.html |
Thanks, Baby Bella Hair for TWO great styles!
Be sure to check out the Baby Bella Hair blog and also like Baby Bella Hair on Facebook!
Also check out Tracey's amazing handiwork at Clash of Designs and like Clash of Designs on Facebook.
Finally - be sure to check out the great reveals of all of the other Copy Cat Carnival participants!
Wednesday, March 21, 2012
The February Protective Style - Cornrows and Box Braids
Slowly but surely...I'm catching up!
February's protective style was cornrows and box braids. This lasted the whole month.
Although I neglected to take step-by step photos, I'll go through the steps.
1) I made a headband of three cornrows across the front, alternating which side I started on.
| 3 cornrows in the front |
| last headband cornrow started further back, for variety |
2) I then braided 8 cornrows heading straight back, ending in single braids, as you can see in the photo above.
3) I put the back of JJ's hair into single box braids.
| box braids at the back |
| better idea of braid length |
The parting pattern of the box braids was staggered to make part lines less visible. I did have to make two boxes much bigger than the others, as you can see in the photo below. This is because I was still trying to hide the chunk of hair that JJ cut off the month before. Luckily, the four braids that I am holding up in the photo below covered the two larger parted areas so it didn't look too "off".
As you can see, the larger boxes (and the cut-off hair!) were well-camouflaged by the braids that laid on top of them.
For school, JJ usually started the day with her hair tied back, but she loves her hair down in braids so mostly it was down.
We gently washed her scalp and braids once a week, with a few co-washes thrown in the mix too. We refreshed/moisturized with diluted Taliah Waajid Protective Mist Bodifer or a home-made cocoa butter, coconut oil and almond oil mixture.
This ended up being a great long term protective style that was visually interesting and lasted well. JJ's cut-off chunk of hair is really growing and she even wore her hair OUT for the first time in months (next post!).
Saturday, November 5, 2011
Cornrows into Tucked-in Twists
This style evolved from a previous style (see more here, at Making the Most of a Hairstyle). JJ had a few braids at the front, and some cornrows at the back that still looked decent - even after 3 weeks - so I wanted to incorporate them into this style.
I started with still-decent-looking braids at the front (bangs) and back (under the puff):
I undid the bottom row of braids, and undid the braided ends of the cornrows.
Then I cornrowed the sides up & towards the back. I secured each section in the middle of JJ's head with an orange ouchlesss band, and twisted the ends.
I added Halloweeny-colored beads to the bangs. JJ loves to whip her hair.
I also twisted the twists and tucked all the ends in. JJ's hair is long enough that I didn't need to use pins.
Finally, for school and for eating and drinking, I tucked the long, beaded bangs into the twists. This helped to keep the braids clean (e.g., out of her food!!) and helped keep her classmates safe. Did I mention she likes to whip her hair?
This style lasted another 2 weeks!! And got tons of compliments too!!
Yes, I am patting myself on the back - almost exactly one year ago I wrote my very first blog post!! I have learned sooooo much since then!
Thanks to all of you who have inspired me, and to all of you who have stopped by over the past year to take a peek at my hair-raising adventures!
Making the Most of a Hairstyle
I always find it interesting how one style can evolve into another. A little while back, I got a month's worth of styles that originated from these cornrows into pigtails.
After another 10 days, the top part of JJ's head was looking fuzzy from a combination of car seat, napping, falling-off sleeping caps, wrestling, etc:
I left the braids in at the front and the back, and just took out the top cornrows. I'd been applying my home-made shea butter/coconut oil/shea oil mix to JJ's braids regularly, and her hair felt lovely and soft when I took it out of the braids.
| top cornrows halfway out - look at that soft, shiny hair! |
JJ spent abut 5 days with a big pony puff - somehow I forgot to take pictures beyond this one:
So now we were almost three weeks in from the original style. The bang braids and braids in the back were still looking decent!
I took out the very bottom row of braids but kept the back cornrows in and incorporated them into a new style; cornrows into tucked-in twists. Some of the "bang" braids also still looked okay, and ended up getting included in the new style too.
| cornrows at the back going on week 4 |
| original bang braids going on week 4 |
Both JJ and I are happy when we can stretch out a style. Although we both love hair time, it's nice to change up a style little at a time to minimize the meltdowns we both have when things take longer than expected. And JJ's hair grows well and stays in good condition with less manipulation.
Win-win!!
Win-win!!
Sunday, October 16, 2011
Cornrows into Pigtails - Inspired by Rachelle Yakubu
Over the weekend, JJ and I were looking through hairstyle photos on the Rachelle Yakubu Photography website. This amazingly talented photographer has a feature that we both adore - called Hairstyle Thursdays.
JJ put in a request for this hairstyle by Rachelle Yakubu, and I tried my best! (side note: we left out the beads - for now anyway)
We started with clean hair that has been loose and free in a 'fro for the day.
Her hair was well-hydrated thanks to a home-made shea butter/coconut oil/shea oil mix.
Just another reminder of JJ's non-shrunken length:
I started with some corn-rows into single braids, 'cuz JJ loves "bangs".
Then - it was bedtime! The next day, JJ wore her hair free in the back with the braided bangs.
At bed time, I banded the back of her hair for the night, to stretch it out. I typically use JJ's old tights (cut into strips) to band JJ's hair as they are really gentle and are very quick to put in.
I wanted to make a curved part for the ponytails, because I loved the "freestyle" look of Rachelle's original style.
| curved part for ponytails |
I also decided not to put the lower back hair into the ponytails. Instead I chose to braid these downwards. JJ likes to keep some length in the back. I've also found in the past that the skin at the nape of her neck is sensitive. Downward braids do not seem to irritate her skin like upward braids have in the past.
| ready for bed! |
In the back I did one layer of cornrows into single braids, and added some single braids at the nape of her neck.
| Yes, the phone again - favorite hair time distraction! |
I pulled the back braids into a ponytail.
| See, phone is put away - she's reading a book! Yay! |
JJ loves her hair!!
Be sure to check out Rachelle Yakubu's Hairstyle Thursdays for some other beautiful styles and breathtaking photos!
Subscribe to:
Posts (Atom)


