Thanks for stopping by! This is my corner of the blogosphere where I'm keeping track of
styles/techniques/products, lessons learned, my to-do list, and favourite links.
Feel free to offer any comments, feedback, or advice - I'm learning as I go !


Showing posts with label flat twists. Show all posts

Monday, July 2, 2012

Happy Canada Day!

Quickest post ever - just to say Happy Canada Day!
Canada Day Hair!!
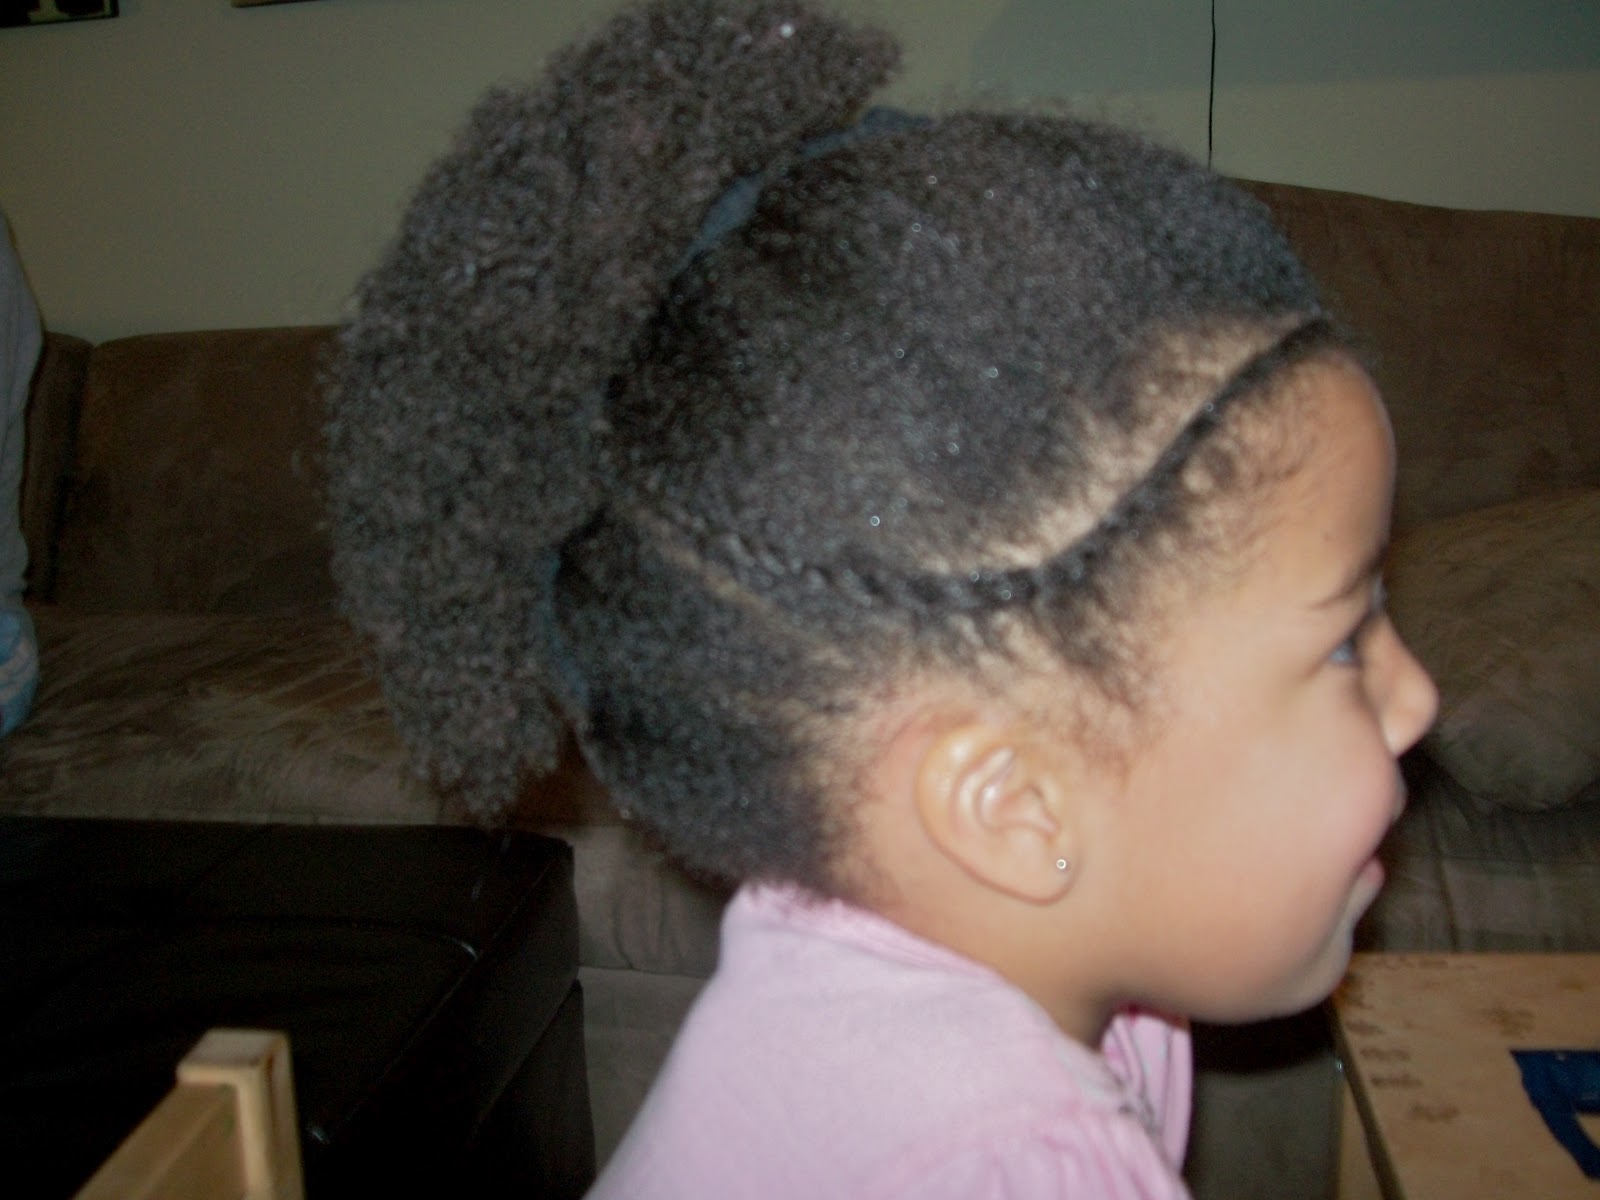
JJ started with a 2-week old (and oops! not blogged-about) style with cornrows up and to the side on each side, and box braids in the middle.


The ((fuzzy)) side braids were pulled into flat two-strand twists, and the ((fuzzy)) middle box braids were pulled into piggy-back ponytails with red and white Pony-O's.
Chasing the Canada Day Cake at the parade!
Now we are getting ready for the Baby Big Hair Frotective Challenge so JJ's Canada Day Hair is on it's way out!

We are so looking forward to 4 days of BIG hair.....!

Wednesday, January 4, 2012

Sparkly Twists for New Year's Eve


This year JJ wanted a special style for New Year's Eve. She requested a  "sparkly" look. This look was initially inspired by a photo shared on Hair-Raising Adventures' Facebook wall, of Des from Girly and Curly.  In the photo, Des has some gorgeous braids with sparkly Bling String woven in.

gorgeous, hey? see more at Girly and Curly!

Although I wasn't able to find Bling String here in Canada, I happened to come across some sparkly yarn (Vanna' s Glamour™in onyx) at Michaels, and figured I could incorporate this somehow into JJ's hair. When I showed the yarn to JJ she absolutely loved it. We looked through some blog photos and decided to take the plunge and do some yarn twists, inspired by Boo's recent yarn twists at Chocolate Hair Vanilla Care.

I pretty much followed the tips detailed at Chocolate Hair Vanilla Care in this post on tips and tricks for yarn extensions. I added 3 strands of yarn per twist; folded over to make 6 strands of extra yarn thickness per twist. Volume-wise, there was more hair than yarn per twist. In terms of length, the sparkly yarn was just long enough to add some beads to the yarn ends. I was not looking to add length other than what was required to add the beads to yarn, versus hair. The sparkly effect was subtle (and kinda hard to see in photos), but was exactly what we were going for.

some stray ends visible just above beads

As you can see below, I added some flat twists on JJ's left side. She loves to wear her hair "up and over". For NYE I gathered her hair into a ponytail on the right side.

Although she is **not** smiling in the photos below (need to work on that posing, JJ!)....JJ was very pleased with the look, and it was perfect for the New Year's Eve party we attended!

There's a little bit more to this story - some drama!!! But that will have to wait for another post - stay tuned....

JJ with Uncle E shortly after midnight!!
Happy New Year everyone - All the best for 2012!!

Sunday, October 2, 2011

Hair Carnival - Breast Cancer Awareness


In 2010, nearly 1.5 million people were told "you have breast cancer". (Breast Cancer Statistics Worldwide). 

This is a sobering statistic. 

Many (too many) of my own friends and family members have been affected by breast cancer.  I'd like to dedicate this post especially to my friend K who passed away a little over two years ago, and to my amazing friend J who continues to beat the odds. And to my grandma, who survived 40 years post mastectomy and had a wonderful life after breast cancer.

Last year, around this time, big brother J and I did our first 5K together (Run for the Cure) to raise money for breast cancer. Here he is, at the finish line:

J finishes his first 5K!
Our team dressed as cats in support of our friend C, a cat lover
As you may know, October is Breast Cancer Awareness month. For this hair carnival, the challenge has been to incorporate the breast cancer awareness logo - the pink ribbon - into our hair styles.

I started by parting JJ's hair ear to ear and put the front in large twists to keep it out of the way.

Moving to the back section, I parted out the "middle" of the ribbon, and clipped JJ's hair away so I could figure out what to do next.


I then did piggyback ponytails around in a circle, criss-crossing at the bottom. I used pink ouchless bands, of course!

It's a bit hard to see, but I flat-twisted the middle section of her hair. I started at the bottom and made my way around counter-clockwise. I twisted the remaining ends and secured them in a twisted bantu knot.


I then did a large flat twist (into braid) at the front and secured the ends with a pink ribbon barrette (oops it flipped over in this picture).

I think she's watching TV here - thus the zoned-out face
JJ adored this style, and a few people even recognized it as being the breast cancer pink ribbon!


Later in the week, for a simple change, I did smaller two-strand twists in the front section, gathered these in a ponytail, and added a (homemade) breast cancer awareness ribbon to the ponytail.


I also took out the then-fuzzy piggyback ponytails, and flat-twisted the hair, again in the ribbon "shape". I added two small ribbons to the ends of the twists.


This hair carnival was a fun challenge. It has also meant a lot to me personally, to participate in a carnival that helps raise awareness for a cause that is very important to me. 

There are so many other brilliant and creative styles in this carnival - be sure to check them all out by clicking on the link at the bottom of this post! 

Also, this month, please consider making a donation to help fund education, screening and/or research programs for breast cancer. These programs have the potential to dramatically increase survival rates! 

A special shout-out to my blogger friend Mikimu, who is raising funds in the Susan G Komen Race for the Cure this year. Good luck Mikimu!

Finally, I'd like to share link - this is an amazing, very moving film my friend J's young son made about her - called Mommy has Breast Cancer.


J- keep fighting -xoxo !!!!!
K - I miss your laugh and your crazy handwriting ):
Grandma - I wouldn't have met you had you not beat that cancer! I'm so glad we had all those years together!


Wednesday, May 18, 2011

Protective Style Challenge

As many of you probably know already, Beads, Braids & Beyond is doing their one month protective styling challenge on Facebook.

I watched from the sidelines last year; it was just around the time that I started spending (a lot of) time on the internet looking at and thinking about hair. Anyway, I decided to take the plunge and join the challenge this year.

For this week I tried flat rope twists. They were a little tricky at first but went better once I got my head around which direction(s) to twist. I was originally inspired by this post at Chocolate Hair / Vanilla Care and flat twists have been on my To Do List for a while.

Of course my (cheap) camera died so I only had my cell phone to take photos, but here is my week one check-in "collage":

So far they are holding up quite well.

In other news I got a huge container of pre-sorted beads at Walmart for $15.00 (approx 2300 beads!!!). Of course I am dying to use them but that would be breaking the protective styling challenge rules so I'll have to wait. Look at them!!!


In the meantime though, JJ could make about 1000 necklaces...

Thursday, February 24, 2011

99 (give or take) freestyle twists


JJ's last style (cornrows and box braids) stayed in longer than expected due to other life events, so her hair has had a bit of a styling break. A good thing, but I was eager to take on something ambitious this weekend.

I started with clean hair, slightly stretched from a night in banded ponytails. The complete style evolved over a few hair sessions over the weekend. This is how I did it:

1.  Starting at the back, I gathered a small section of hair, spritzed with water and a little detangler, and finger detangled (her hair was thoroughly detangled before putting the banded ponytails in so this wasn't difficult). I made two-strand twists that were smaller than usual - about 1/2 cm in diameter (about 1/5 inch). I continued, 1 small section at a time until the back was done. There were about 75 total twists in the back. I used a lovely shea/aloe/coconut oil mix that I made using a recipe from Naturally Leslie (see this post.)

2. I thought about continuing with regular two strand twists for the front of her hair but:
a) I wanted her hair to be out of her face without needing barrettes or elastics, and
b) I'm a little artsy and felt like departing from straight parts.

So I did curved flat two-strand twists kind of all over the place with my main goal being to keep her hair out of her face.
Started the flat twists at the front, but took a
break by adding in a knotted ponytail 
Later continuing the flat twists in the front
(same PJs, different day)

Look! JJ's dressed!!
(but see PJs in background?)
All done!
In the end, I feel okay with it, but think that cornrows would have looked much neater and less fuzzy than the flat twists at the front. I may take them out and re-do with cornrows.
Later in the week -pigtails
The flat twists are getting pretty fuzzy (day 4).

Tools: water, detangler, comb, shea/aloe/coconut oil mix (see link, above)

Saturday, January 29, 2011

Copy Cat Puffs

The phone keeps JJ entertained at hair time! 

This week's style was inspired (well, okay, copied) from this style at Keep Me Curly. The only real difference was that I did flat twists into puffs instead of cornrows.  It was great and lasted well for the week. I did turn the puffs into large braids towards the end of the week to avoid big tangles.


For the twists I used a shea/coconut oil mixture. When I took the twists out I was impressed with the texture of JJ's hair - it was still very soft and smooth and even shiny. The texture/curl pattern was great too - kind of a spiral-y, stretched curl so I left it as a twistout in two pigtails.

Sunday, January 9, 2011

Puffy "Fro-Hawky" Pony with Staying Power and Minimal Hairline Stress


The title says it all.

Daddy D loves the simplicity of a single ponytail. I like the idea too, but I worry about stress on JJ's hairline. I also really rely on styles that have staying power. I usually style JJ's hair in such a way that it can last the week, with only minimal maintenance required day-to-day. Our morning routine is hectic to say the least. I'm a working outside of the home mama, and the three kids are at two different schools. There's just me to get everyone out the door since D leaves for work while the rest of us are still sleeping.

This weekend I've experimented and come up with something that looks like a single ponytail but **hopefully** will cause minimal hairline stress and will last (oops! see re-do notes, below).

I started with clean, dry hair. (Full disclosure - this is a re-do from something that didn't work - you can read more about my adventures with rollers in this post). I spritzed with a combo of water, jojoba oil and leave-in conditioner, and parted the hair into five sections from the front to the back of the head.

I pulled each section together in the middle of JJ's head with a piece of cut-up black tights. I was careful not to pull too tightly. I tried to "ponytail" the hair (is that a verb?) such that the hair covered any part lines so these don't show. I've been shocked at how a flash camera makes part lines stand out so much, and I'm aiming for a smoother look here.

I ponytailed the five sections relatively close to each other, and then attached all five sections together with another piece of old tights (sort of vertically, like a banana clip - remember those?). I then spritzed the puffs and fluffed them out so that they looked like they were all one ponytail.

Voila!


Re-do notes:

JJ did sleep with a satin cap but between all the dressing and undressing this hasn't held up as well as I would have liked. The sides got very fuzzy very quickly.  The re-do has incorporated flat two-strand twists at the hair line. Maintenance has involved spritzing front/sides/back every day with my water/jojoba/leave-in combo, and spritzing and fluffing the puffs.

5 fairly loose pony tails,
loose hair at hairline
Flat two-strand twist at hairline
Ponytails pulled together with old tights
(like a banana clip) 
Wrapped the tights around twice for a smaller,
less "fro-hawky" pony tail 
Decided to go with the fro-hawk after all
All done!

Friday, December 31, 2010

The Usual Routine

Our hair routine varies somewhat from week to week, but here is the "usual":

1) Take out whatever style was in (usually done the night before).

2)  Wash hair. Usually this is a "co-wash" (wash with conditioner only). If there is a lot of product buildup I'll do a baking soda rinse (baking soda dissolved in warm water). Every two weeks or so I use a no-sulfate shampoo. Currently, we're using a very affordable line called "live clean". I like the Apple Cider "clarifying" shampoo. I usually wash JJ's hair in two sections as it is very thick.
Usually I wash JJ's hair in two sections - back and front.
3) Condition. I usually apply conditioner and let it sit for a while while JJ plays in the bath. We like the live clean Argan Oil conditioner. Sometimes I mix a little jojoba oil into the conditioner and let it sit.
Sitting with conditioner.
Jojoba oil, and live clean shampoo & conditioner
 (sorry - focus problem)
4) Detangle. Usually I comb JJ's hair in the bath with a wide tooth comb. I comb it in smallish sections, starting at the ends.

5) Rinse.
Clean hair!
6) Apply product and style. Typically, I lean towards "protective styles", like two-strand twists. I try to style so that I can change it up during the week by adding/changing hair accessories. Usually I add some almond oil to a tub of organic shea butter and mix it around with my fingers until I get a smooth, creamy consistency. I then divide the hair into sections, add the shea/almond "cream", comb through, and twist, making sure to twist right to the ends. I have a bottle of water to spritz as JJ's hair dries quickly. Usually I'll wrap the ends of the twists around a barrette a few times and secure. This helps the ends curl up nicely instead of getting frizzy. It also helps "pull down" the twists for some length. I take the barrettes out once the hair is dry.

I start with the back as JJ's scalp is most sensitive there.
Note length of the combed out section. 
First twist.
Back row of twists, second section ready to go.
Barrettes added to stretch the twists and keep the ends neat.
Two rows done!
Three rows done, added some flat twists for variety
and to keep JJ's hair out of her face.
More flat twists and a flat twist to the side at the front.
Added some baubles - done!
From the top.
Twists can usually last the week easily. JJ does sleep with a satin cap at night. Sometimes towards the end of the week we do twist-out. If I can keep this momentum up, I'll post a pic!


Addendum: Katie's post on Happy Girl Hair called The Care and Feeding of Protective Twists reminded me that a daily spritz is a very good thing for twists (or any style for that matter). I've been trying to remember to spritz JJ's twists daily. I've been using a homemade mixture of live clean Argan oil smooth and shine cream, a little almond oil, and water. I just shook these together in a small spray bottle. So far, so good....