Thanks for stopping by! This is my corner of the blogosphere where I'm keeping track of
styles/techniques/products, lessons learned, my to-do list, and favourite links.
Feel free to offer any comments, feedback, or advice - I'm learning as I go !


Monday, April 9, 2012

Happy Easter: featuring Huffleblossoms!

Happy Easter!!! 
Blessings to you and your loved ones. 

We have had a wonderful long weekend full of reflection, joy and time with extended family. The weather has been beautiful and spring is in the air (yes, even way up north here in Canada!). Our tiny garden is beginning to blossom, and JJ is obsessed with looking at and learning about plants and flowers. This new interest has extended to choosing to wear dresses with big flower prints, as well as flower clips in her hair. Her absolute favorite clip, without a doubt, is this GORGEOUS Huffleblossom!! 


Now Huffleblossoms are NOT your ordinary hair accessories.

Besides being gorgeous, they are unique - and durable! 
Would you believe that the flower in JJ's hair is made out of duct tape?!?!?!?


I can't really believe it either. But it is pure genius. 

JJ is one of the most active and rough part-tomboy, part-princess kids I know, and this Huffleblossom still looks brand new after countless wears. Many of her other accessories have become scraggly-looking very quickly. The duct tape is super strong, and doesn't attract dirt or become misshapen like JJ's other fabric flowers do. 

At $6 for a flower clip these are a great deal - period. 

But the other really important thing to know about Huffleblossoms is that they are handmade by the very creative mother-daughter team over at Tweeny Hair (aka Rae and Syd). And the funds they earn from their creations at the Huffleblossoms Etsy shop goes to a very worthy project....

You may remember that last summer Rae and Syd went on a 9-day missions trip to Guatemala (see the AMAZING trip photos here). Well, they are going back! You can read more about the upcoming trip to Guatemala here. They will be once again be helping with building projects, distributing food, and holding medical clinics. Rae and Syd are already making a lot of personal sacrifices in order to cover their expenses for the next mission trip, and are also fundraising through Pay it Square. Please consider making a donation if you can, and check out the Huffleblossoms Etsy shop for duct tape flowers, fabric flowers, and **NEW** ladder ribbon necklaces.  

Source: http://www.etsy.com/listing/96641853/ladder-ribbon-necklace
Gorgeous!! 

Speaking of gorgeous, a few last photos of JJ and her favorite flower:


And links to other Huffleblossom reviews for further oooh-ing and aaaah-ing...


Happy Easter! Love from JJ and Mama M

Wednesday, March 21, 2012

The February Protective Style - Cornrows and Box Braids

Slowly but surely...I'm catching up!

February's protective style was cornrows and box braids. This lasted the whole month.

Although I neglected to take step-by step photos, I'll go through the steps. 

1) I made a headband of three cornrows across the front, alternating which side I started on. 

3 cornrows in the front
last headband cornrow started further back, for variety
2) I then braided 8 cornrows heading straight back, ending in single braids, as you can see in the photo above.

3) I put the back of JJ's hair into single box braids.   

box braids at the back
better idea of braid length
The parting pattern of the box braids was staggered to make part lines less visible. I did have to make two boxes much bigger than the others, as you can see in the photo below. This is because I was still trying to hide the chunk of hair that JJ cut off the month before. Luckily, the four braids that I am holding up in the photo below covered the two larger parted areas so it didn't look too "off". 

These are the two larger braids. The circles indicate the length of the hair that she cut off.

As you can see, the larger boxes (and the cut-off hair!) were well-camouflaged by the braids that laid on top of them.


We tried to remember to cover up at night as much as possible.
For school, JJ usually started the day with her hair tied back, but she loves her hair down in braids so mostly it was down.

We gently washed her scalp and braids once a week, with a few co-washes thrown in the mix too. We refreshed/moisturized with diluted Taliah Waajid Protective Mist Bodifer or a home-made cocoa butter, coconut oil and almond oil mixture.


This ended up being a great long term protective style that was visually interesting and lasted well. JJ's cut-off chunk of hair is really growing and she even wore her hair OUT for the first time in months (next post!).

Monday, March 12, 2012

The Loc Hawk

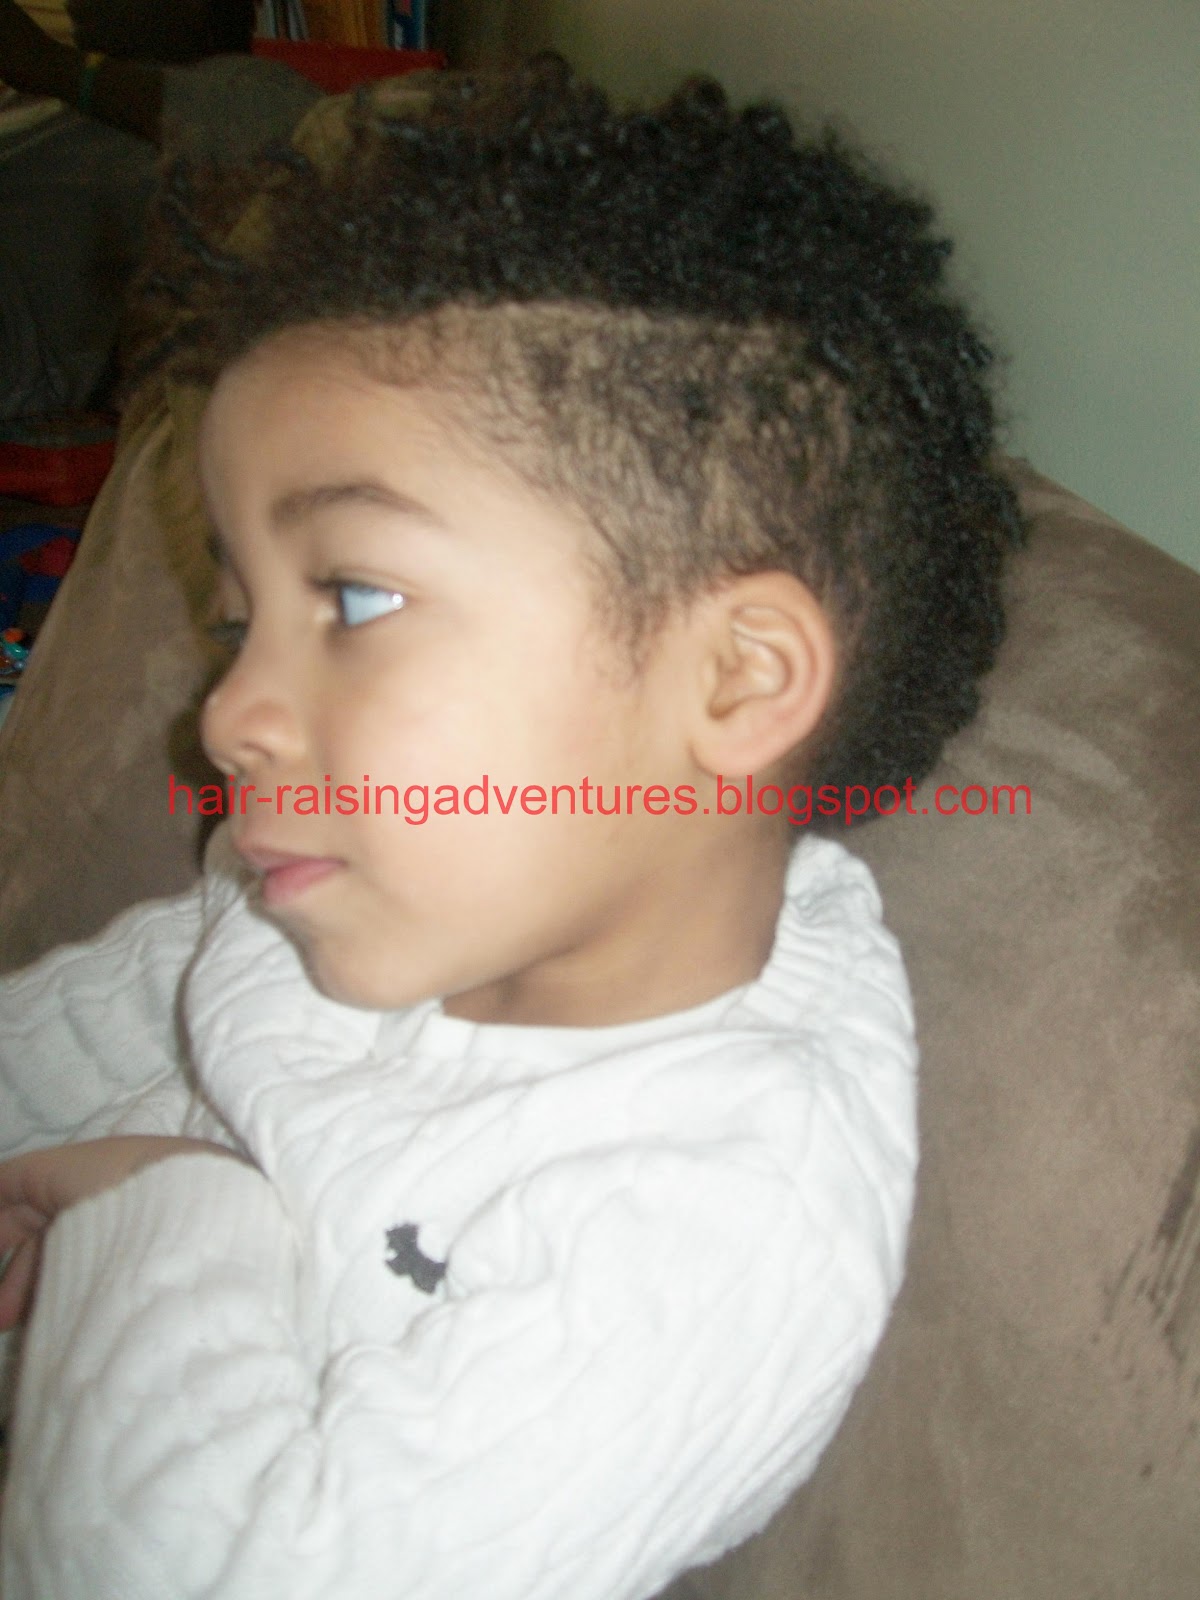
Little Brother K has been sporting a new 'do - the "loc-hawk"!


Last time I updated here about K's hair, I had just put in a headful of two strand twists. 

I was in a dilemma about to twist or not to twist, to cut or not to cut, and to loc or not to loc.  Now it seems I've done all three!

For a while, I went with twisting. Here is K's hair on New Year's Eve: small two-strand twists.


We stuck with twists for a while; long enough that they started to loc naturally.


K's own photo of his locs at the front
K's curl pattern in much tighter at the front and the back of his head. His hair is looser and finer in the middle. 

The varying sizes of K's curls, compared to a marker

His hair was beginning to loc quite nicely at the front and back, but the middle was not loc'ing well at all. I started to help the locs along, using my homemade interlock tool (literally a paperclip with masking tape around it to avoid snagging). 


I use a 4-point method similar to the one used in this video by DynamicRunner. 

K actually enjoys getting his hair done these days, so once or twice a week while he watches TV, I have him sit for some re-twisting/interlocking. The locs continue to be a work in progress, some are well-established while others need more time.

Here is an idea of the thickness of the locs:

K's locs are a little smaller than a pencil in diameter

And now - onto the CUT!

To give K's hair a new and interesting shape, we decided to cut the sides into a mohawk - technically a loc-hawk? Using the electric clippers on number 1, I cut down the sides and left the locs at the front, top and back. 


K loves his rockin' new look!


A Month of Yarn Twists

Hi everyone!! First, I'd like to thank you for your patience as I try to balance family/work/life/blog. Blogging has certainly taken the back-burner, but I do have a line-up of exciting hair stories to tell. Slowly but surely, I'll get them out!

I wanted to start by sharing how JJ's sparkly twists for New Year's Eve ended up becoming a longer-term protective style.

When I started the yarn twists, I figured I would leave them in for a few days post-NYE. I wasn't planning on leaving them in too long, because I figured they'd be a bit too "flashy" for everyday. But as you may remember, JJ cut off a big chunk of her own hair on NYE, while I was taking a break from finishing up the twists...

So I decided the yarn twists would stay in a bit longer to buy some time (hair growth time!) before figuring out how to camouflage the short hair in her next style.

Luckily, the sparkly-ness of the yarn twists was quite subtle. The subtle but sparkly twists stayed for all of January! I washed them as per Rory's detailed instructions about washing yarn extensions at Chocolate Hair Vanilla Care. I also spritzed frequently with diluted Taliah Waajid Protective Mist Bodifier or live clean Exotic Nectar Argan Oil leave-in spray.

Here are JJ's yarn twists, not too fancy for the mall!

The beads stayed in for about a week.
Once the beads were out, I knotted the ends.
After about three weeks, I could not take the fuzz at the front anymore! The front yarn twists came out, and I did five simple flat twists towards the back. The back yarn twists stayed in.

Too much fuzz!
Flat twists at the front
After 4 1/2 weeks, I undid the knotted ends. The twists were super easy to unravel and the yarn actually seemed to help keep the two strands of the rope twists very distinct. There was no tangling of the two strands together as I unravelled the rope twists; usually JJ's hair does tangle with long-term 2-strand twists.


I left them as a yarn + hair twist-out for a day (sorry, forgot to take a photo of her whole head!). 

The next day I took out the yarn, by simply sliding it off of JJ's hair. Again, I was surprised at how non-tangled JJ's hair was, at how easy it was to simply untwist the strands, and at how moisturized her hair had stayed. 

And the patch of cut-off hair gained some length! 

JJ's hair went straight into another protective style - cornrows and box braids - for the month of February. Hopefully I'll catch up on blogging about February's style before too long - but here's a sneak peak in the meantime...